Using Microsoft Teams on a Desktop
Mike Dumdei demonstrates using Microsoft Teams on a Desktop / Laptop computer.
In this video, we’re going to talk about how to download Microsoft Teams to your desktop, how to log in, and how to use meetings on your desktop computer.
First, to download Microsoft Teams you can do a simple Google search and look up Microsoft Teams app or download Microsoft Teams app.
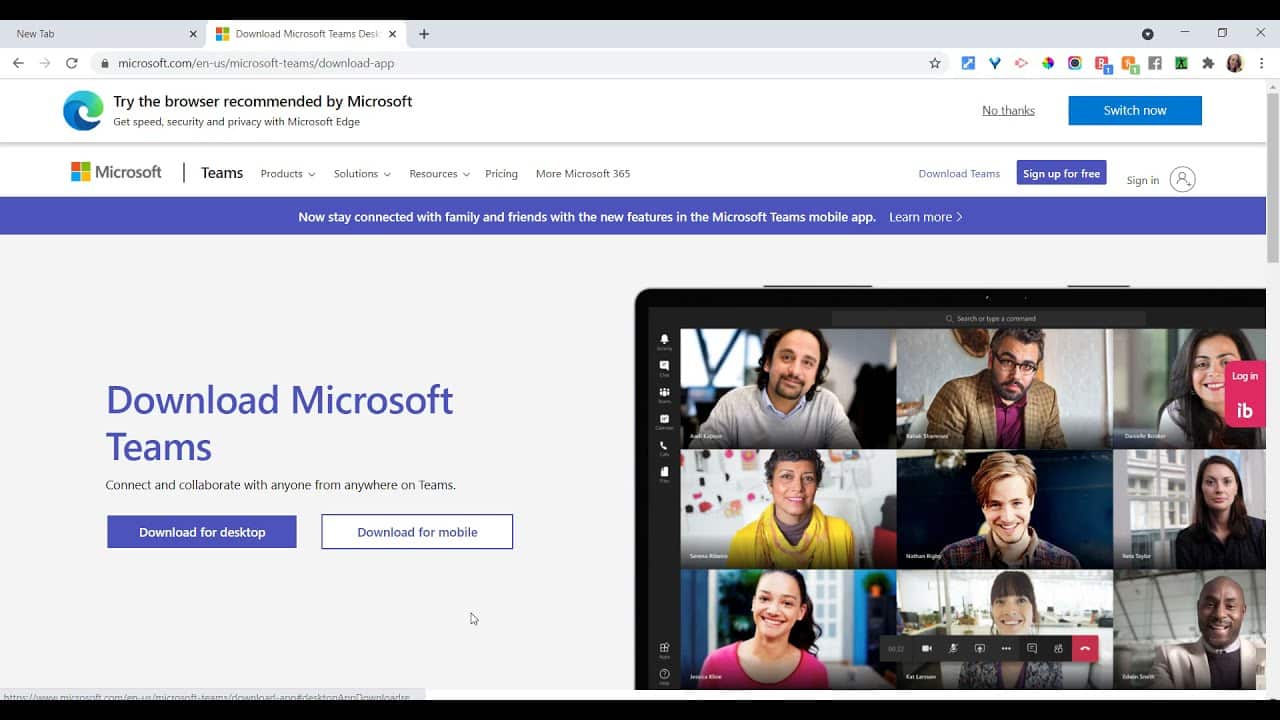
Once you do so, it’ll be taken to a screen that looks like this and you just download for desktop. Once you’ve downloaded the app, you’ll have to go to the sign in screen.
One thing that I want to point out is that you must use your full Texarkana College email to log in to Microsoft Teams, not just your username. Next, you’ll have to put in your password.
Click sign in in order to log into Microsoft Teams. You may have already set up two step authentication. If so, you’ll have to enter a code that’s sent to your device. So just keep that in mind, but once you log in, you’ll be taken to the Microsoft Teams page.
This is the page where all of your teams show up. That means any course that you’re enrolled in should be here.
Let’s take a look at the left side, left hand side bar. This sidebar has all of the important features that you’ll need to be aware of. Chat teams, assignments and calendar.
The major ones, of course, are chat teams and calendar.
Chat is where you can go to create conversations with any of your professors or fellow students. Just click on the new chat button and you can enter a name. And send that person a message. They will be notified in their team chat.
The other super important feature for teams is calendar. You will use calendar to get to your teams meetings. Your professor will set up a meeting and any of those meetings will appear in your calendar.
You’ll also get an email invitation to join meetings.
Once the meeting has started, you’ll get a notification in the bottom right hand corner that a meeting has started.
You can join from there as well, but it’s super easy just to join from the calendar, so that’s what we’re going to do.
We first clicked on calendar and we see our meeting taking place. So we are going to join this meeting.
The first screen that appears is the video and audio options screen. We are going to use our computer audio. And make sure that your mic is turned off when entering the meeting.
This is just etiquette to make sure there’s not a bunch of sound from multiple peoples computers going on while you join the meeting. I also suggest starting the meeting with your video turned off.
This is just another simple etiquette way to make sure that there’s not a lot going on on the screen until your professor is ready for that, so we’re going to go ahead and click Join Now.
Once we join the meeting, if our videos are all turned off, you can see here the picture of the person in the meeting and then your picture down in the bottom right hand corner.
Let’s take a look at the buttons at the top of the screen.
This is the participants button. You can hide or show participants if you click it. It will give you a list of everyone that’s in the meeting.
Here is the show conversation button. This is the chat for the meeting. Sometimes a professor may put a link or extra information in the chat window that you may need to interact with.
Here is the raise hand feature if you click on the hand here the professor will get a notification that you have a question. You can unmute your mic to ask the question or type your question in the chat if you feel like you need to do that.
You can also use various emotions emoticons here to give a little animation on the screen. If you like what the professor or other students are saying.
Now we’re going to take a look at the more actions this three dots open a new menu that gives you more actions you can use in your Microsoft Teams meeting.
The major ones we’re going to be talking about are the background effects if you want to blur your background, you can do that.
Turning on live captioning. If you need captioning for your videos, you can turn that on. Whether you’re in a loud place and you want to hear or see what the professor is saying or whether you are hearing impaired and need those captions to be able to interact with video.
The next one is a start and stop recording. I would not suggest that you use this button simply because your professor will probably record your meeting.
Now let’s scoot over here to these three buttons.
This is the video on or off icon so you can turn your video on or off.
Here is the unmute button. You’ll use this whenever you need to say something in your meeting. Your professor may ask you to unmute your mic to speak.
And last, the share content feature. If your professor needs you to share your screen, you will click this icon. It will bring up an option menu that looks like this. You’re always going to want to share under the desktop option and I would always suggest you turn on this button here. Include computer sound, especially if you were sharing a video with your class. If you’re not sharing a video with your class, you don’t necessarily have to put that, but it is a good idea. Just in case you need to share video.
So we’re going to click this screen. Couple things to notice here is that you can see the screen is being shared by this red rectangle around your screen.
You can always stop presenting when you’re done, so we’ll go ahead and click stop presenting.
We’re taking back to our meeting here.
The next feature in this meeting is the Leave button. Once you leave the meeting, you’ll be taken away from the meeting.
You can always get back to the meeting by simply going to your calendar and clicking join.
Again, turn off your computer audio and Join Now. If something happens while you’re in the meeting and you get kicked off, it’s always good to know that you can always get back to any meeting by clicking on calendar and clicking join.
Those are the features of the Microsoft Teams meeting on a desktop computer.