Using OneDrive
Follow along as Kirby Fowler guides you through logging into OneDrive, Creating, Saving, Sharing, and Printing a document.
Hello, today I’m going to walk you through how to use Microsoft OneDrive.
Microsoft OneDrive is our solution to cloud storage. No longer do you need a flash drive to save, edit, print or share your files.
It’s easy to get to Microsoft OneDrive. The easiest way to access OneDrive is through the web.
I like to go to Microsoft OneDrive after viewing my email.
I suggest opening myTC. Finding quicklinks and clicking on email under your quicklinks.
This will open your email in a web browser.
In the upper left hand corner, this square will launch applications from Microsoft Office 365.
Click on OneDrive.
To create a new document, simply click on the blue plus sign. Click the arrow to drop down the menu.
Today I’ll demo how to create a Word document, but all the documents work the same.
A couple things to note.
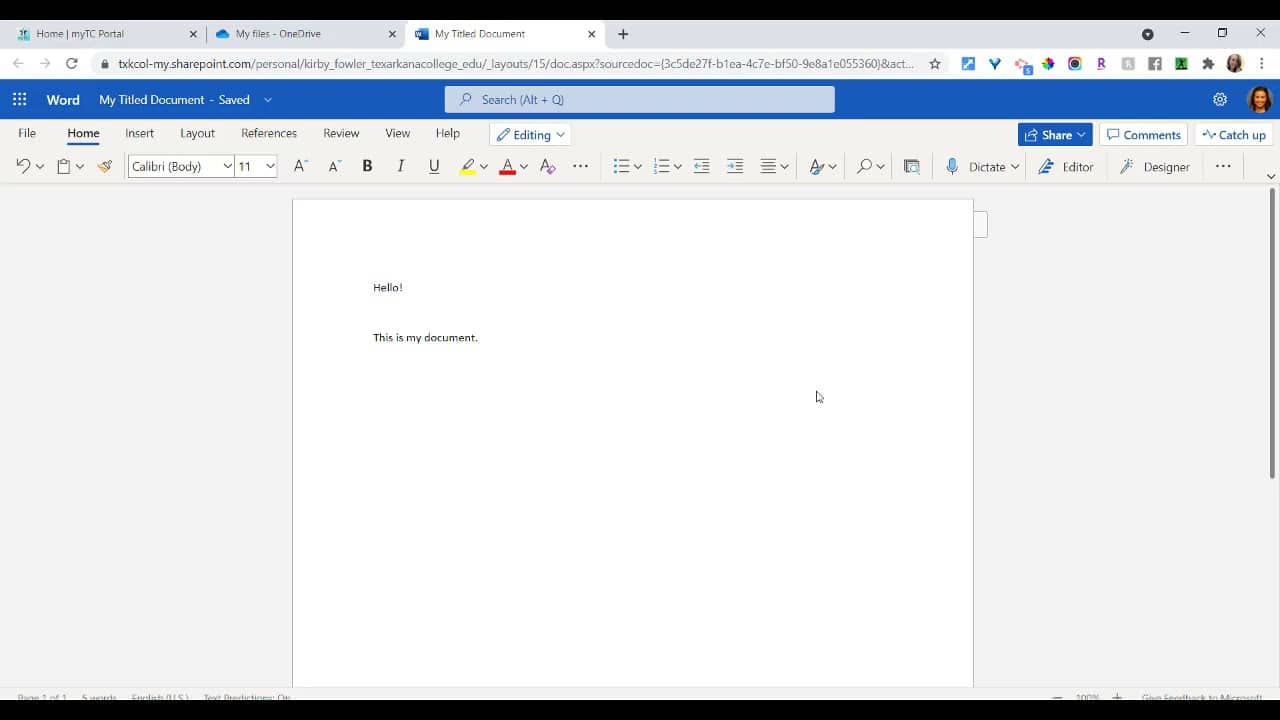
The title of your document is here.
Microsoft Word Online will default to document and a number.
It’s always good practice to make sure you click here and change the title of your document and you’ll notice that it says saved right beside that. That’s because long gone are the days where you have to file, save, and title your document in three different steps.
Simply title your document and begin typing.
You’ll notice that it is saving every keystroke and it’s saved.
You never have to go through and physically save any of your documents any longer.
The next important feature to note about Microsoft OneDrive in Microsoft Office online is the share button.
You can find the share button here.
Click this button and choose email link.
Emailing a link to your document will give anyone you email that document access to view the document, but you can always change their permissions in this area.
Let’s say you’re working on a group project, and you want your members of your group to be able to edit the document that you’re working on.
Notice here that we have a pencil with a line through it. This means that anyone that I send this document to can only view this document. If I click the dropdown menu, I can choose to give them permission to make changes to the document by choosing can edit.
Now anyone I send this link to can edit the document and work simultaneously with me on the same document.
Let’s say you need to email this link to someone outside of Texarkana College, meaning someone with a Gmail or Yahoo Mail. Click the briefcase here and choose anyone with link.
That will give anyone with the link whether they have a TC email address or not access rights to your document.
Don’t forget to click apply when you’re done editing the changes.
Let’s take a look at where your Microsoft document goes.
In OneDrive, you’ll notice that if you scroll down, you’ll see your document there.
I can see who has viewed the document by clicking on this. How many views it has – I can see who it’s shared with and I can also go through that same process of sharing the document right from here.
Opening this document back up, you can see that all of my edits that I previously made are there.
Now let’s print. Simply go to File, Print and print this document. The printing window will open like normal and you choose the destination printer that you wish your paper to go to. And click print.
So you see, it’s easy to create documents, share documents and print from Microsoft OneDrive.
All of the other files work the same way – PowerPoint and Excel. You can do the same things in any of those.
So, gone are the days of needing a USB to take it here and there. All of your files live in OneDrive. You can access them from any computer that you can log into your TC account from.